


 For a long time source control for Database Code, has been difficult or costly to implement and use.
With the ever expanding list of resources available for Azure Data Studio, we can now do even more while staying inside of a single tool allow us to be more productive and take advantage of implementing and using source control in our environments.
In the September 2020, release we have a new extension – Database Projects that I recommend you install and have approved if needed in your environment making your life easier with your database development being incorporated into source control.
In this post we will have an initial look at the new extension. Like all extensions, this is a very simple process to install. Once you find the SQL Database Projects extension in the Recommended section of the Extensions Activity Tab, it is as simple as clicking on the Install button and you are ready to proceed with your new extension.
Inside of Azure Data Studio, we have multiple ways to create our first database project:
- Projects viewlet under the Explore Activity Tab
- Command Palette
- Create Database Project under the Connections Activity Tab
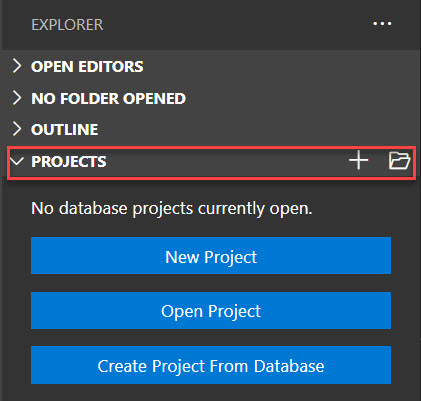
Projects Viewlet
This option gives you multiple ways to get started. For this post we will look at the New Project Option. Simply Click on the New Project button to start your journey.
In the Command Palette section in Azure Data Studio, you will be prompted to give your project a new name.

Navigate to the folder location where you have your local repository. You will be asked if you would like to update the default location to save new database projects. Based on your requirements, I would consider setting your default location.
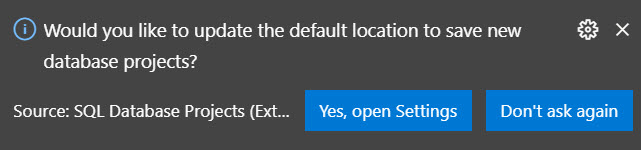
If you click the “Yes Open Settings” Navigate to Extensions, Database Projects and you will be presented with the default configurations that you are able to set. The default location will be set to your login name under C:\Users.
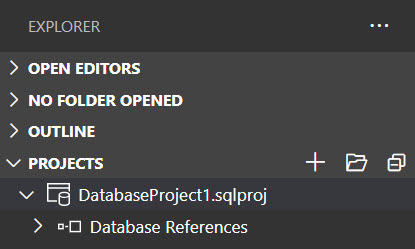
If you navigate to the location that you selected, you will see you have a new folder named the project name you gave it, and it contains a .sqlproj file just like you would have if you had created this from inside of Visual Studio.
You will notice in Azure Data Studio, you have automatically been taken to the Explorer Activity Bar, and under the Projects, you will now see your newly created database project ready for you to start and add what you need.
If we right click onto the newly created database project we are presented with a number of familiar options:
- Build
- Publish
- Schema Compare
- Add Item
- Add Folder
- Add Table
- Add View
- Add Stored Procedure
- Add Script
- Add Pre-Deployment Script
- Add Post-Deployment Script
- Edit .sqlproj file
- Open Containing Folder
- Close Database Project
Once you have created your new database project, you are now ready to start and add your items to the project. Do not worry about creating a Create Database Script, as the database will be created during the publish phase of steps. We will come to that a little later in the post.
For this post we are going to keep this very simple and we will create the following Database Items:
- Schema
- Table
Create Schema Item
Right Click on the project and select Add Script. The script contents will contain the Create Schema code.
Create Table Item
Right Click on the project and select Add Table. The new script will contain the new table to be created.
Deploy Database Project
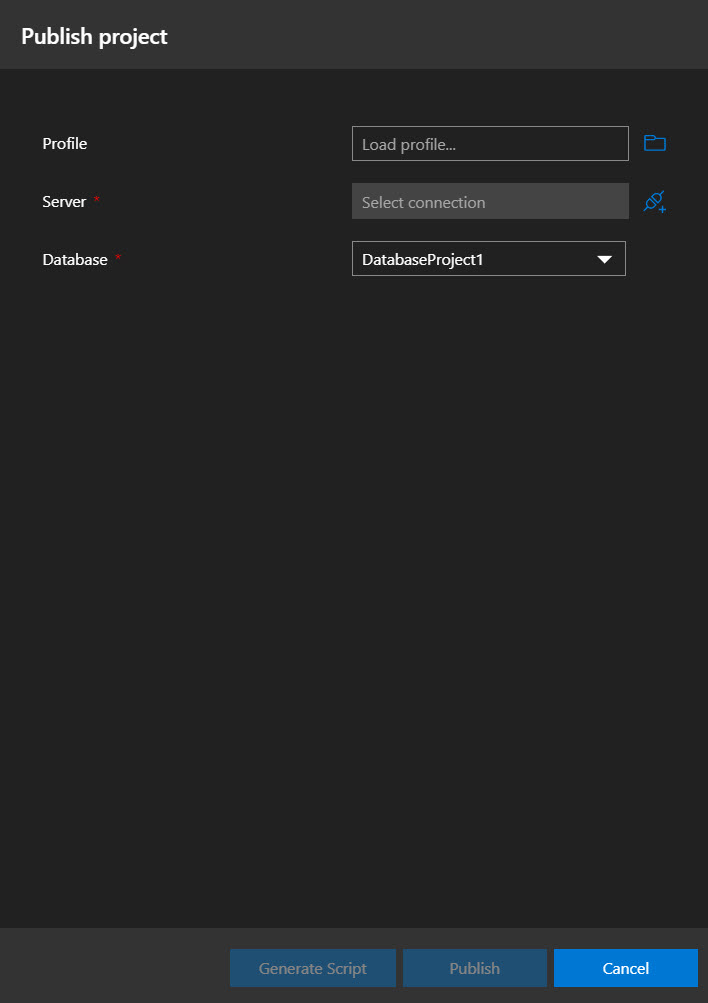
With our simple DB Project we are ready to deploy to our environment. Right click on the project and select Publish.
Select the Instance connection you wish to deploy to and at this point it is your choice to choose to either deploy or generate scripts. For this post we are using the generate scripts option.
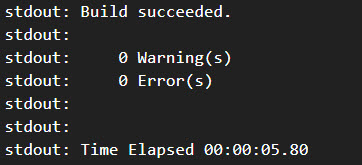
In the output section of Azure Data Studio you should see the following for a successful build of your new Database Project.
Under the Tasks Tab you should also see the following to coincide with your script generation:
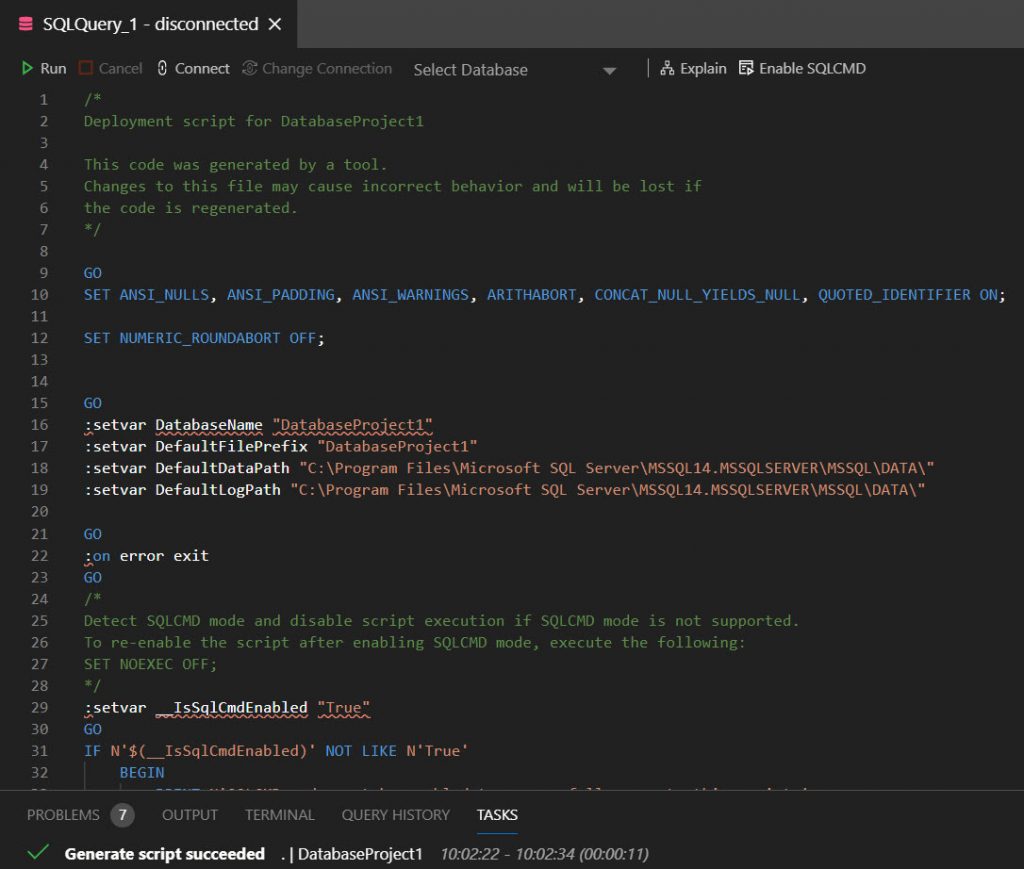
You will need to review the script, and you will find your schema and table ready to be deployed. To execute you will need to enable SQLCMD, which can be located in the top right of the query window.
You have now successfully created your first Database Project inside of Azure Data Studio, and you are able to add this project to your local source control repository using the Git commands also from within Azure Data Studio.
Enjoy being productive using source control with your database changes.

[…] Warwick Rudd takes us through database projects in Azure Data Studio: […]