
Being able to quickly and easily connect to our Azure subscriptions definitely makes our lives easier as a data professional.
Well Azure Data Studio definitely makes that job easier for us.
All we need to do is use the Linked Accounts option in Azure Data Studio. In the Side Bar you will see the Account symbol.
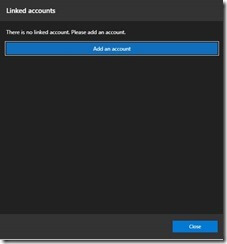
The steps to add a linked account are pretty simple. You just need your Azure Login Details to complete the process. Click the Add Account button to start the process.
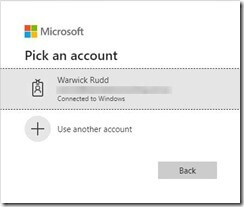
This will take you out to the Microsoft Sign-in page where you can enter your subscription account details.
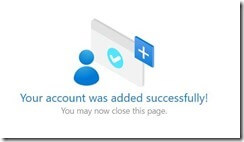
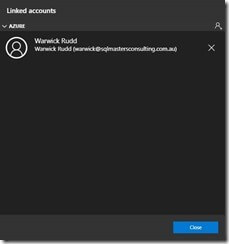
On a successful sign-in you will be presented with the Successfully added page and you will now have a linked account to your azure subscriptions(s) associated with this account.
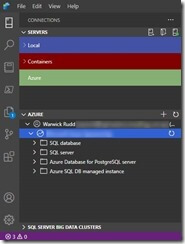
In the Connections Activity Bar, you will now see the various resources that you have in you subscriptions.
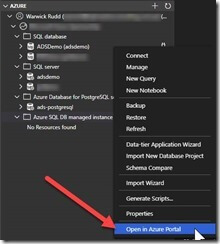
If you expand these out and right click on you Azure SQL Database for example you will now see you can jump directly into your Azure Portal for this resource, saving you time and effort in doing what you need to do.
Enjoy working with your data in Azure Data Studio




[…] Estate in our Azure Subscription. Once you have setup your Azure Account in Azure Data Studio, (See previous post on adding an account) , you are able to see what is in your […]