 One of the best tools available in my opinion in Azure Data Studio to make our lives easier regardless of the type of work we do with Data are Notebooks.
I am not going to re-write what a Notebook is, there is an excellent write-up by Microsoft here.
But in a nutshell what can we do with Notebooks:
- Host Text
- Host Code
- Store the results of the code
- Source Control
- Multiple application Kernels
If you are not already using Notebooks or considering using them, I recommend you look into what they can do for you as they will make your life so much easier.
For example, If you are a production support DBA and you are oncall when an issue happens, having your scripts ready to run and capture what is happening, and the bonus is, you store the results so in the recap the next day you are able to confirm what you ran, what the results were and not have to worry about your tiredness coming into play.
Notebooks are constantly evolving, just like everything else we as Data Professionals need to learn about. Recently with the June 2020 release we got a nicer user experience with Notebooks giving us more flexibility in formatting our text cells. The new editor gives us markup editing functions such as:
- Bold
- Italic
- Underline
- Highlighting
- Code block comments
- Linking to URL based content
- Bullet Points
- Numbering Points
- Paragraph formatting
- Images
All with a side by side editing approach showing you your preview on the right side of your notebook. If you do not want to see the preview, you can toggle this on and off with the preview button in the top right hand corner.
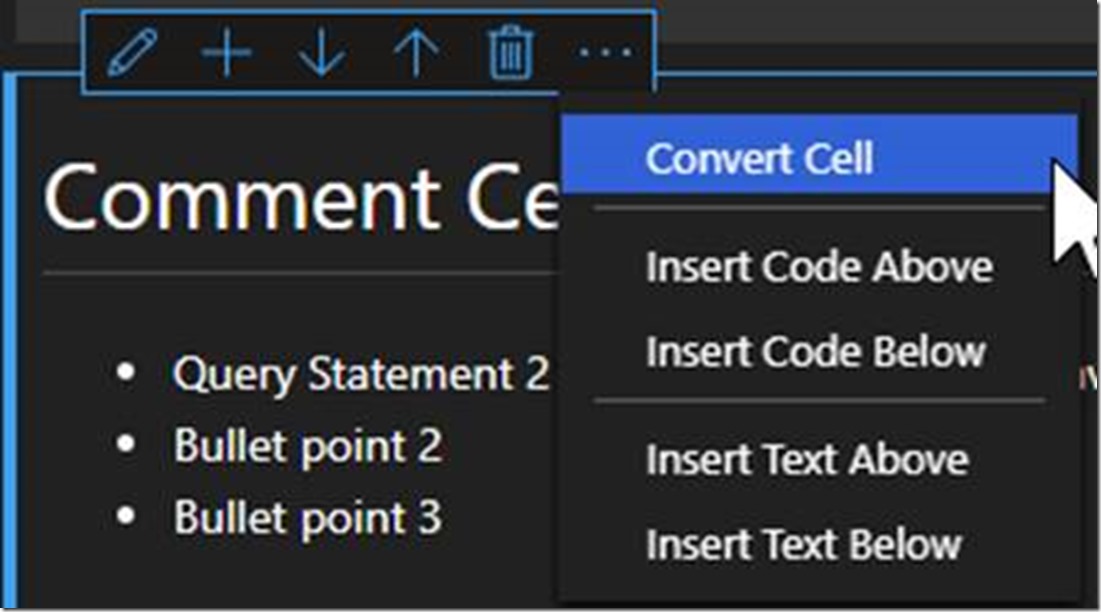
With the August release another nice feature that was added to the Notebook user experience is the ease of moving a cell once we have created it. You will see the Up and Down Arrows, for those of us that sometimes create our cells in the wrong place.
Another nice little feature, is the ability to easily swap a cell type. This allows us to swap a Text Cell to a Code Cell and back with a simple click.
Activity Bar
You will also notice that in the activity bar, we have a Notebook activity tab. This allows us to open a folder from the operating system where we have stored our Notebooks we are sharing as a team. We now also have the functionality to perform a search across our notebooks looking for specific code or comments.
We also have the ability to open Remote Jupyter Books that are in Github.
An Added bonus, Microsoft’s Tiger Team have a TigerToolbox on Github that you are able to have access to. Select the Tigertoolbox repository, Click Search and you will now have some options to choose from under the releases.
At the time of this post, you need a Github release URL to easily gain access to the remote Notebook.
Enjoy working with Notebooks in Azure Data Studio.


Leave a Reply