


As previously mentioned there are 2 types of deployment available for your Arc Data Controller. In this post, we are going to have a look at deploying in the Arc Data Controller using the directly connected mode.
For a directly connected Arc Data Controller, we have direct connectivity to our Azure subscription. With this in mind, there are several options as we previously discussed on how to deploy the data controller. For this post, we are using the portal deployment method.
Ensure you review the network requirements before starting your deployment.
Now that you have met all of the pre-requisites we are ready to start.
- Connect to your Azure subscription with an account that has appropriate permissions to create resource groups and associated resources.
- Have access to your pre-provisioned Kubernetes cluster in your determined environment:
- On-premises
- Azure Cloud
- AWS Cloud
- Google Cloud
- Have Azure Data Studio (ADS) downloaded and installed
- Install the following 2 ADS Extensions:
- Azure CLI
- Azure Arc
- Open the Terminal Window on Azure Data Studio
- Execute the following command in the terminal window to determine the version of CLI and appropriate extensions installed – ‘az version’
- Ensure you are connected to your Azure subscription:
$Env:MySubscriptionID = “[enter your subscription id here]”
Az account set –subscription $Env:MySubscriptionID
- Now let’s add the required Arcdata and K8s CLI extensions:
az extension add –name arcdata
az extension add –name connectedk8s
az extension add –name custom location
az extension add –name k8s-configuration
az extension add –name k8s-extension
- Now we need to register some providers:
az provider register –namespace Microsoft.Kubernetes
az provider register –namespace Microsoft.Kubernetes configuration
az provider register –namespace Microsoft.ExtendedLocation
- Ensure you are working in the directory in the terminal window that has your Kubernetes Kube .config file. As my environment I am using an AKS cluster I can use the following statements to download my .config file:
$Env:MyResourceGroup=”ArcDataServices”
$Env:MyCluster=”SMC-AKS-Demo-01”
$Env:Mylocation=”AustraliaEast”
az aks get-credentials –resource-group $Env:MyResourceGroup –name $Env:MyCluster
- We now need to Arc-enable our Kubernetes Cluster:
Az connectedk8s connect –name $Env:MyCluster –resource-group $Env:MyResourceGroup –location $Env:Mylocation
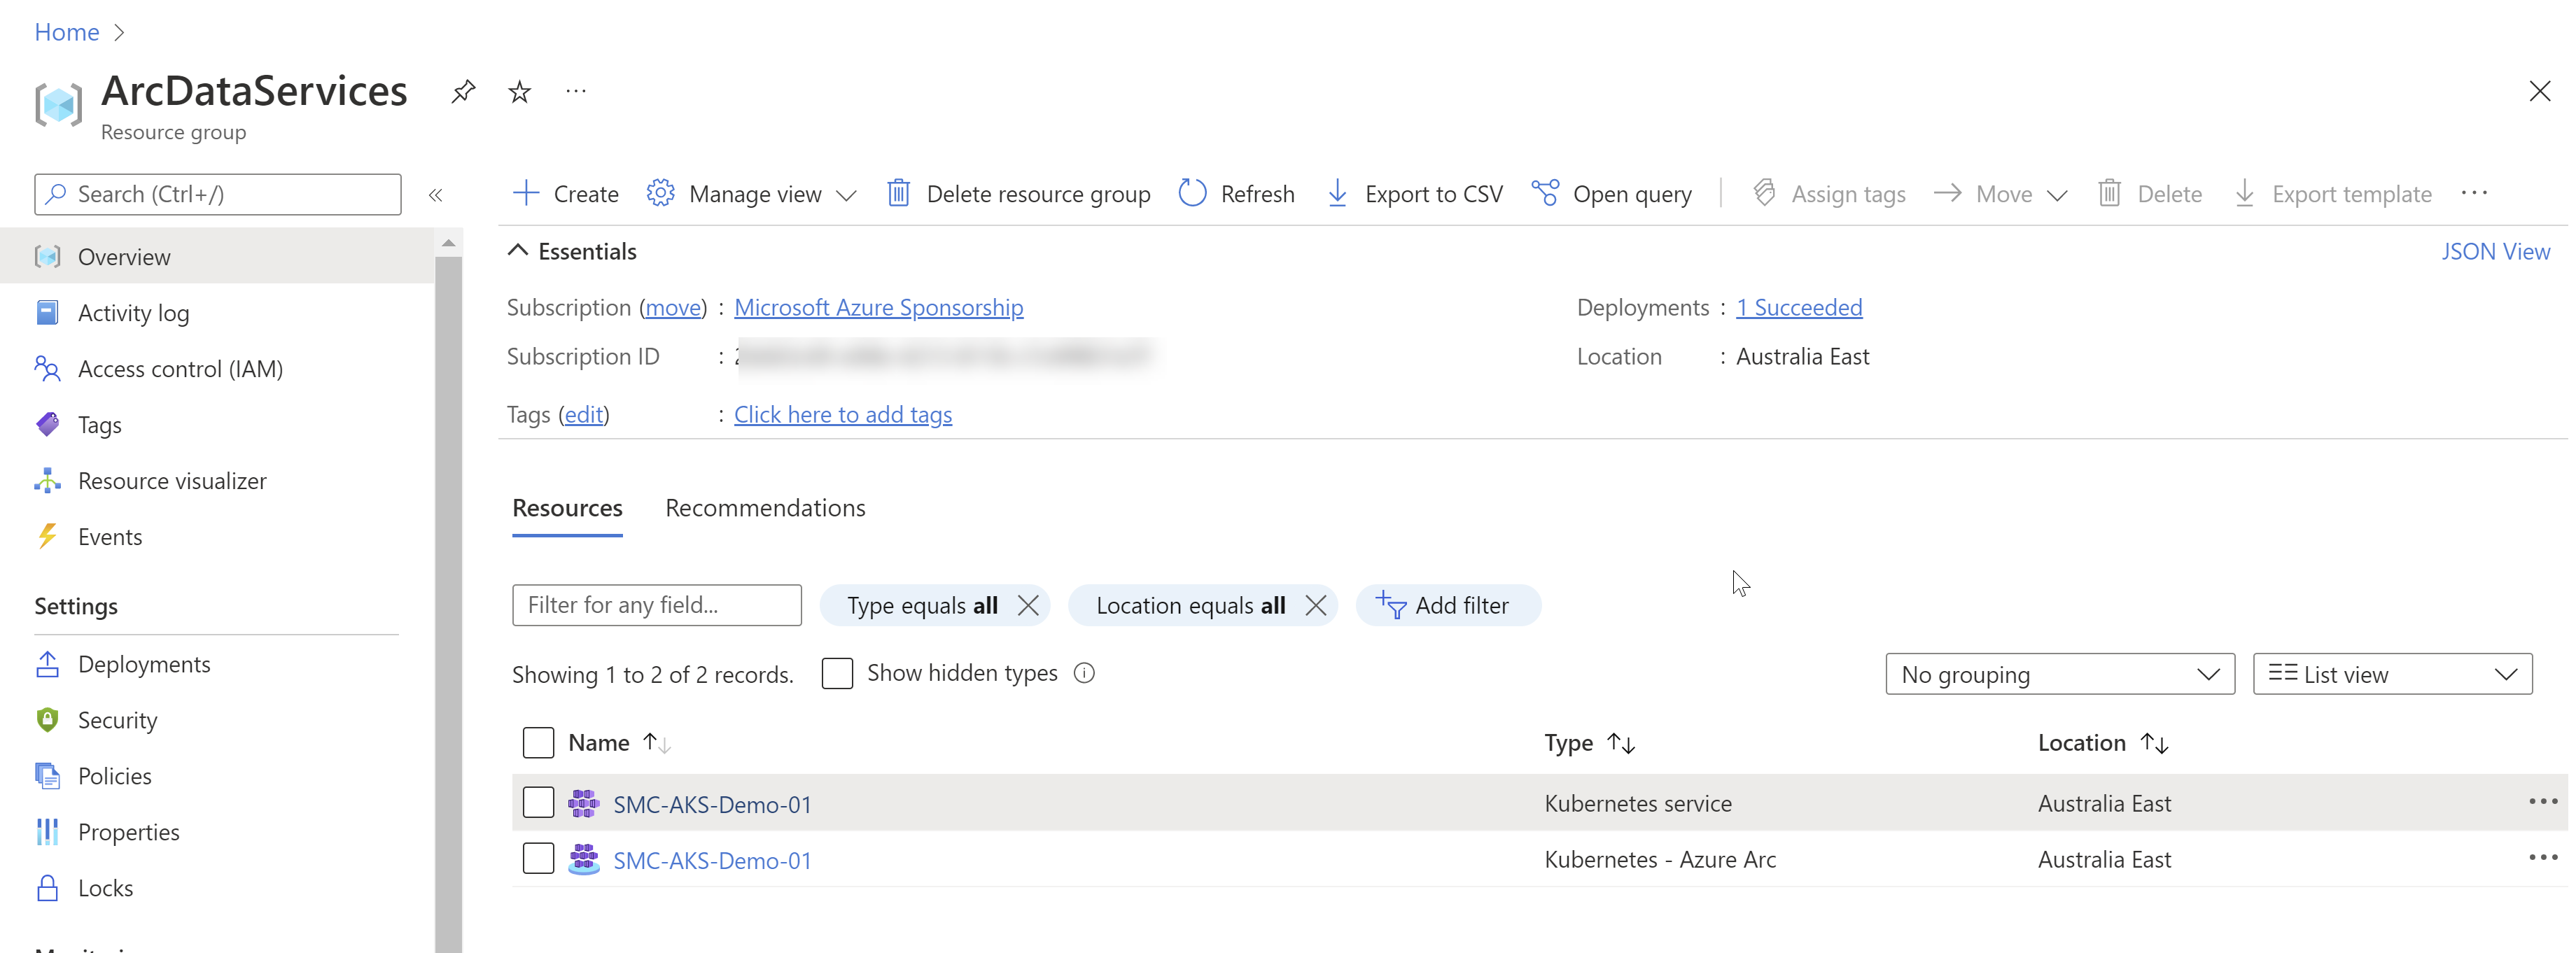
Connect to the Azure portal and navigate to the resource group you have used in step 10 above. You should now have a resource of type Kubernetes – Azure Arc being displayed.
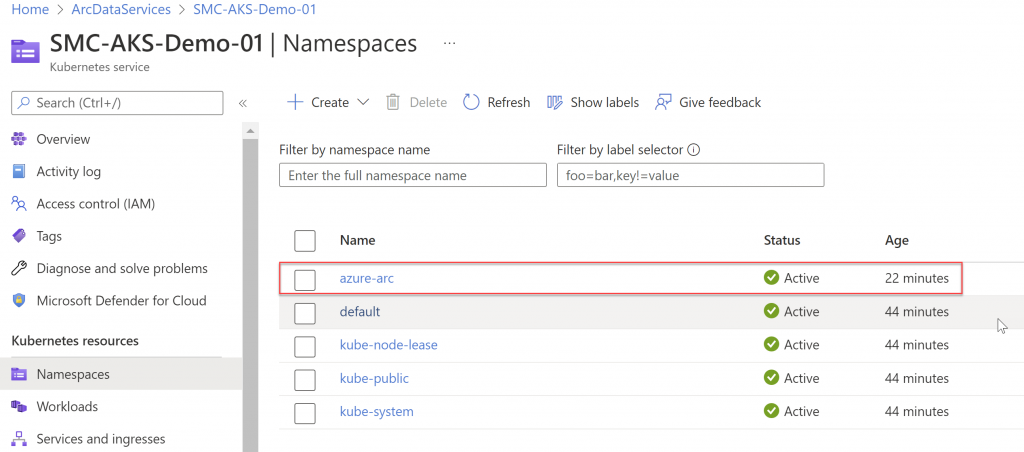
On your Kubernetes cluster, you should now see an azure-arc namespace.
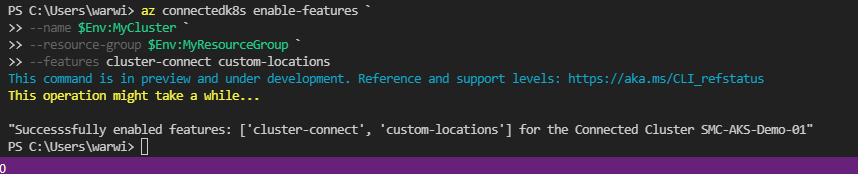
We are nearly ready to start the deployment of the Arc Data Controller. We need to enable a couple of features via the ADS Terminal window and undertake some confirmations of the configured features with the following CLI commands:
az connectedk8s enable-features –name $Env:MyCluster –resource-group $Env:MyResourceGroup --features cluster-connect custom-locations
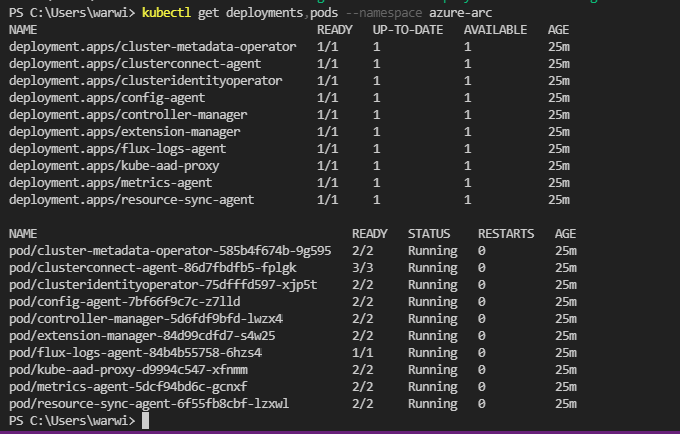
- To confirm all of the required agents have been deployed execute the following command:
Kubectl get deployments, pods –namespace azure-arc
We are now ready to perform the deployment of the Arc Data Controller via the Azure portal. In the Azure portal following the following steps:
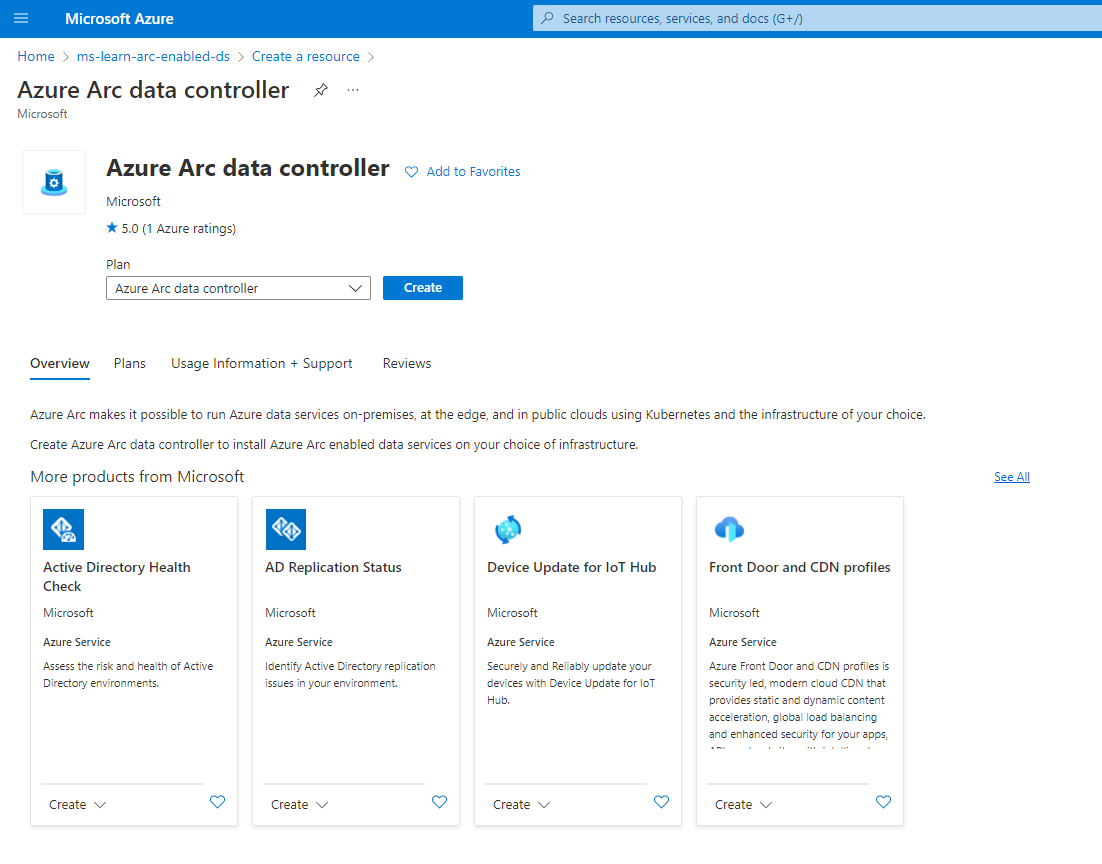
- In your required resource group, select create the resource.
- Search for Arc Data Controller
- Select Create
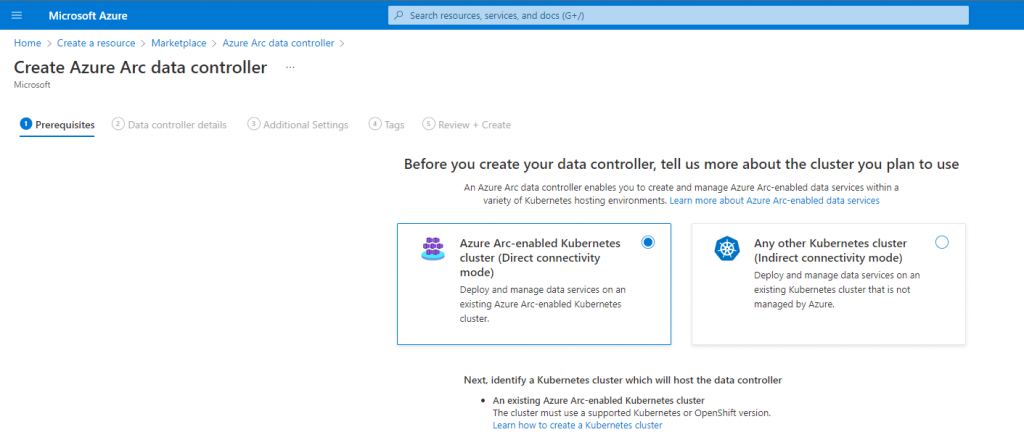
- Select Azure Arc-enabled Kubernetes cluster (directly connected mode)
- Click Next: Data Controller Details
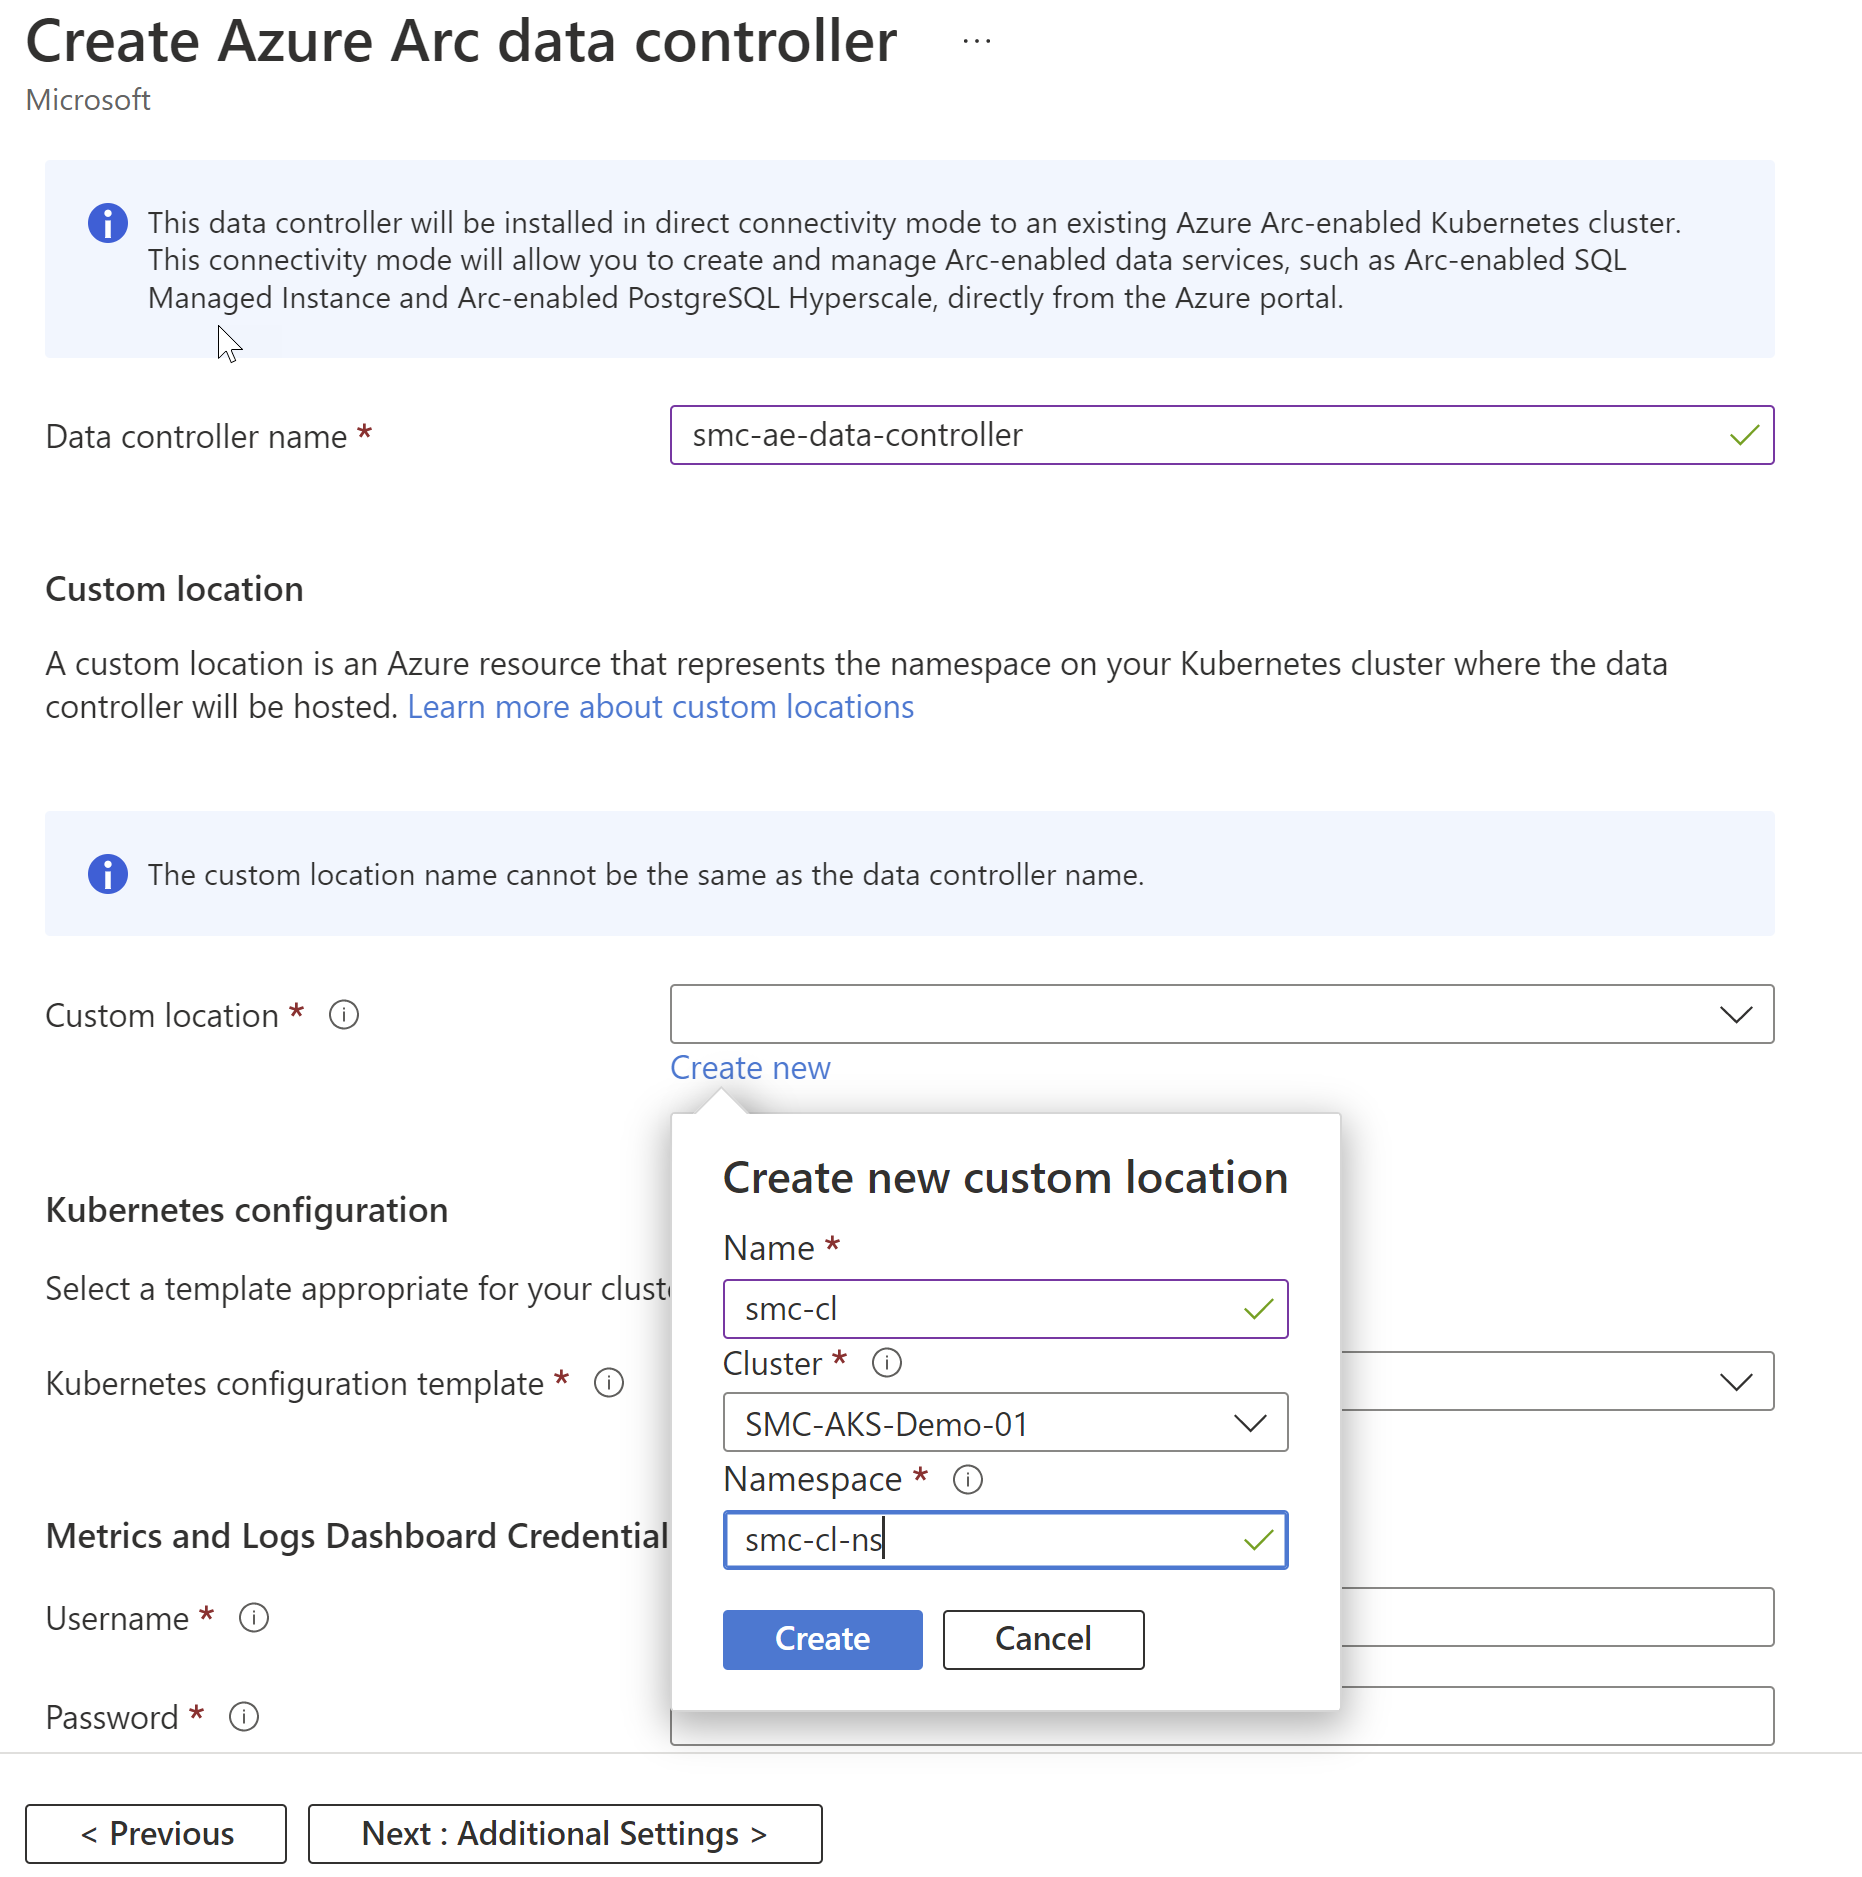
- Choose the resource group you deployed your Azure Arc-enabled Kubernetes Cluster
- Enter the name of your new data controller
- Create a new custom location
- Enter the name of your custom location
- Select your Kubernetes cluster
- Enter the namespace you wish to associate with this Arc Data Controller
- The next few components are going to be determined by the type and location of your Kubernetes cluster. I am doing this on an AKS cluster in my azure subscription:
-
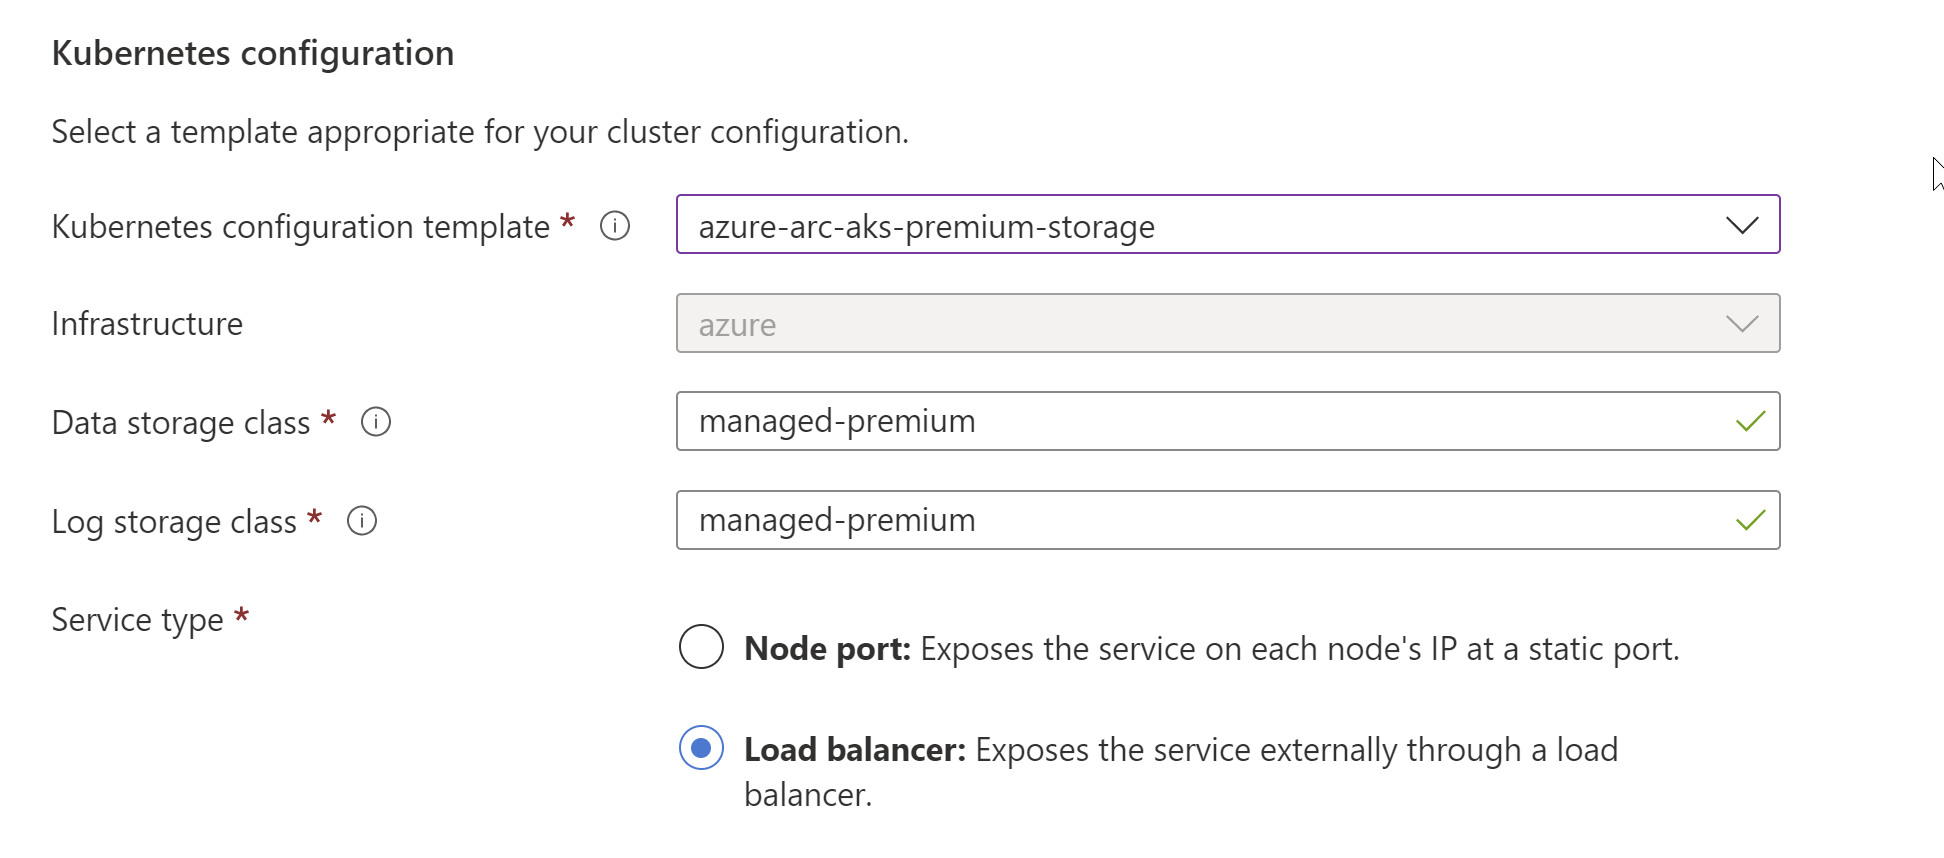
- Choose the appropriate storage configuration template for your configured Kubernetes Cluster
- Choose the appropriate storage class for your data and logs
- Microsoft provides templates for various environments such as GKE and OpenShift. If you see an option that matches your environment, Microsoft provides a configuration template for you. Otherwise, you will need to specify a custom template.
-
- Choose the service type. This will be dictated by how your Kubernetes Cluster is configured and if it is using a load balancer approach Vs Node Port
- The Metrics and Logs Dashboard Credentials are the account and password you will use to access Kibana and Grafana to monitor your environments. Entering this Username and password will create the account and associate it with this Arc Data Controller being deployed.
- Select Next: Additional Settings
- I have chosen to disable the Auto Upload of the Metrics and logs, purely for this post. It is not recommended to disable these uploads. To Automatically upload the metrics you will need the Workspace ID and Primary Key for your Log Analytics workspace in Azure. You can find this under Settings | Agents Management in the Log Analytics section.
- Add the appropriate Tags allowing you to track and manage your Azure resources
- Click Create
- Depending on the resources configured on your Kubernetes Cluster and where your Kubernetes cluster is located the time for the creation could take some time.
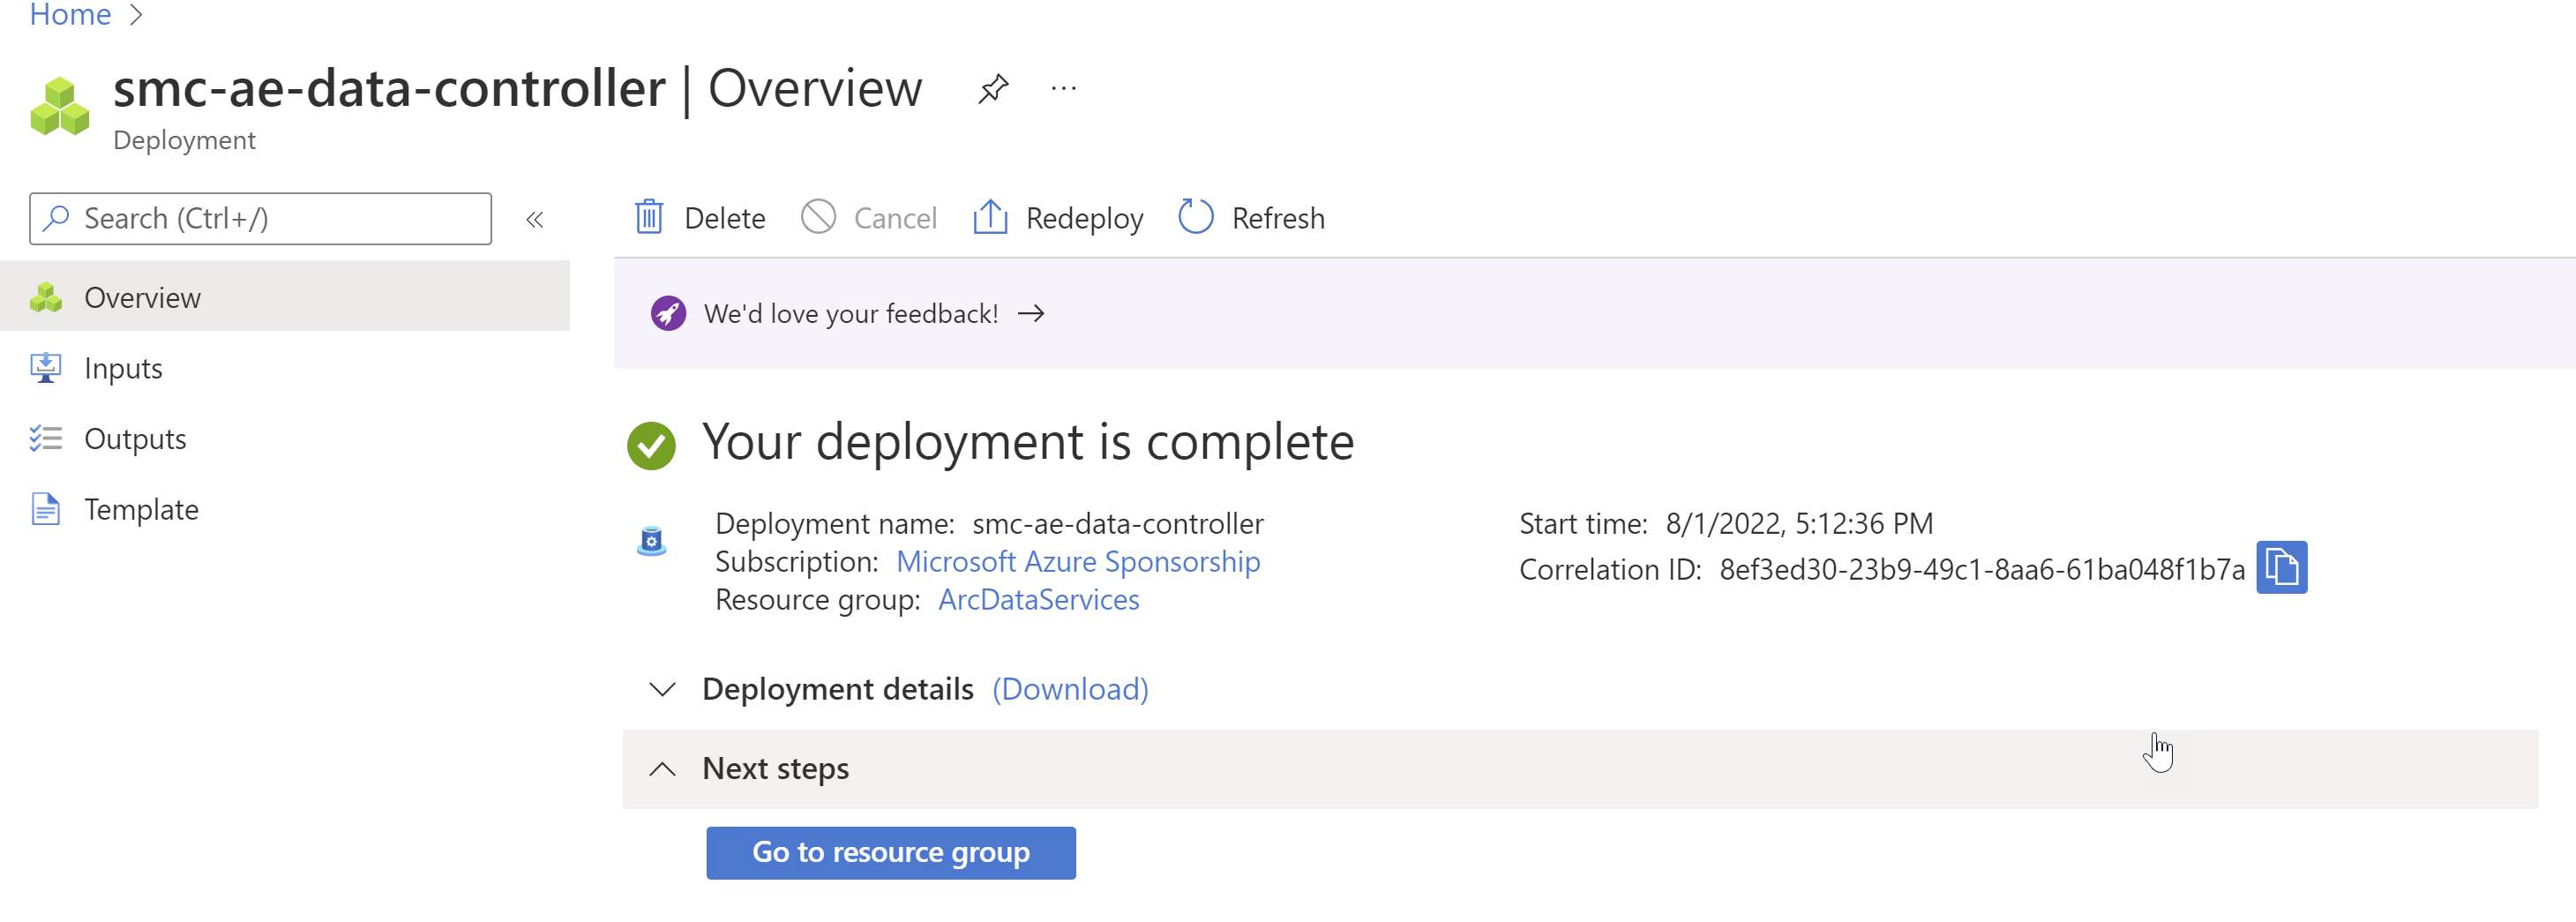
- You will receive the “Your Deployment is complete page” but this does not mean your Data Controller is ready
- In the Cloud shell window in the portal you can run the following commands to track the completion of your deployment:
-
Kubectl get data controller –namespace [enter your namespace used in step 8 above]
-
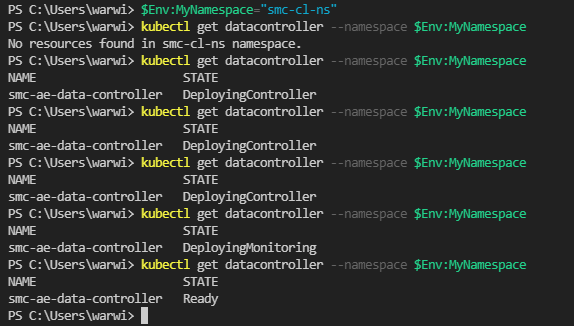
- You will need to wait until you have a state of Ready
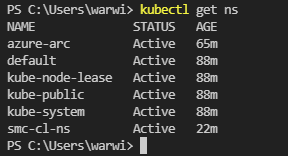
- To validate the deployment you can run the following command:
-
Kubectl get ns
-
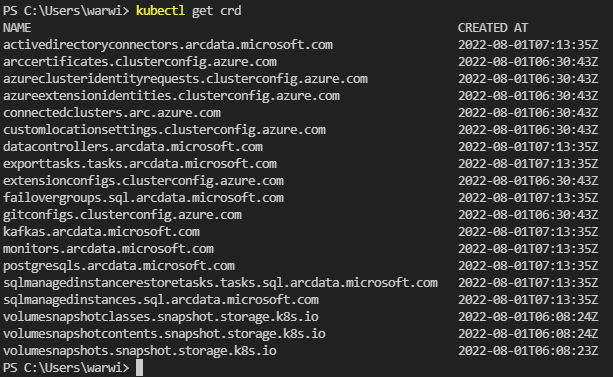
- We need to confirm all of the packages have been deployed with the following command:
-
Kubectl get crd
-
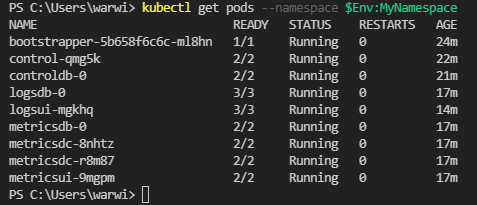
- Finally we need to review all of the resources created under the custom location:
-
Kubectl get pods –namespace [enter your namespace used in step 8 above]
-
In our next blog post of this series, we will have a look at how to connect to and manage your Arc Data Controller.

Leave a Reply